Thursday 8 January 2015

Minor Project submission

Art of


Final composed music

Initial Pre-Viz draft


Character texturing test turnaround


Lighting Tests and rendered stills

Here are all the lighting tests and then the final lighting for this part of my environment. This is something I really struggled to do lighting is not my strong point and I think there's something about the scene being in black and white that makes it harder.
Unfortunately I have been unable to bake out my shadows to edit and incorporate into my textures, every time I attempted it Maya crashed and I tried this for each of the objects in my scene and each time the results were the same. There might be something wrong with my model or the way I've applied my textures either way this is one part of my process that I have been unable to complete.


Some rendered stills of the environment so far.


Environment Texturing

Here are all the texture maps and the applied textures to my environment. There are some slight issues with my textures that I am going to have to try and fix in my major project. Some of the objects such as the floor and arches are quite large objects and so the textures have slightly blurred in a way that I'm not entirely happy with. I thought I had overcome this problem by making my textures double the size and printing them out on A3 paper but it hasn't worked out that way so I will need to think of something else to fix the problem.


Environment UV Mapping and Normal Maps

Completed UV mapping of the basement level of the model. 


Here are the normal maps completed, and the process of applying them to the model. The next stage is now texturing and lighting.


Environment Modelling progress

 I decided to start modelling from the basement level and work my way up from there, for the purpose of my minor project I will be modelling and completing this basement level and then for my major project I will be completing the rest of the model. 


The following images show the completed modelling for the basement level the next step for this will be UV mapping and then adding the normal maps.


Initial Pre-Viz tests

Here is the first draft of my pre-viz. This was just experimenting with some different camera movements and exploring possible ideas for when it comes to doing y final animation. It's still a long way off what I want and I have a lot more experimenting to do because at the moment I can see from this I'm still playing it quite safe and going for the basic camera movements and I need to get out of that way of thinking.

CD cover and disk artwork

CD Cover


Disk


New basic structure

As I have mentioned previously upon receiving the finished composed music for my animation I decided to rearrange a few things within the structure because I felt it fit better with the music. Which meant that the basic structure I had built is not longer valid. Below is a layout of how the new structure is going to be built. 


Below Is the new basic structure I made. I wasn't going to do this at first because I thought it would be a waste of time but I realised that even though I do not need to make the basic structure in order to help me model I do need it for my pre-viz, and since the changes are quite dramatic from the previous basic structure I felt it would be pointless experimenting with camera movements for a structure that no longer exists.
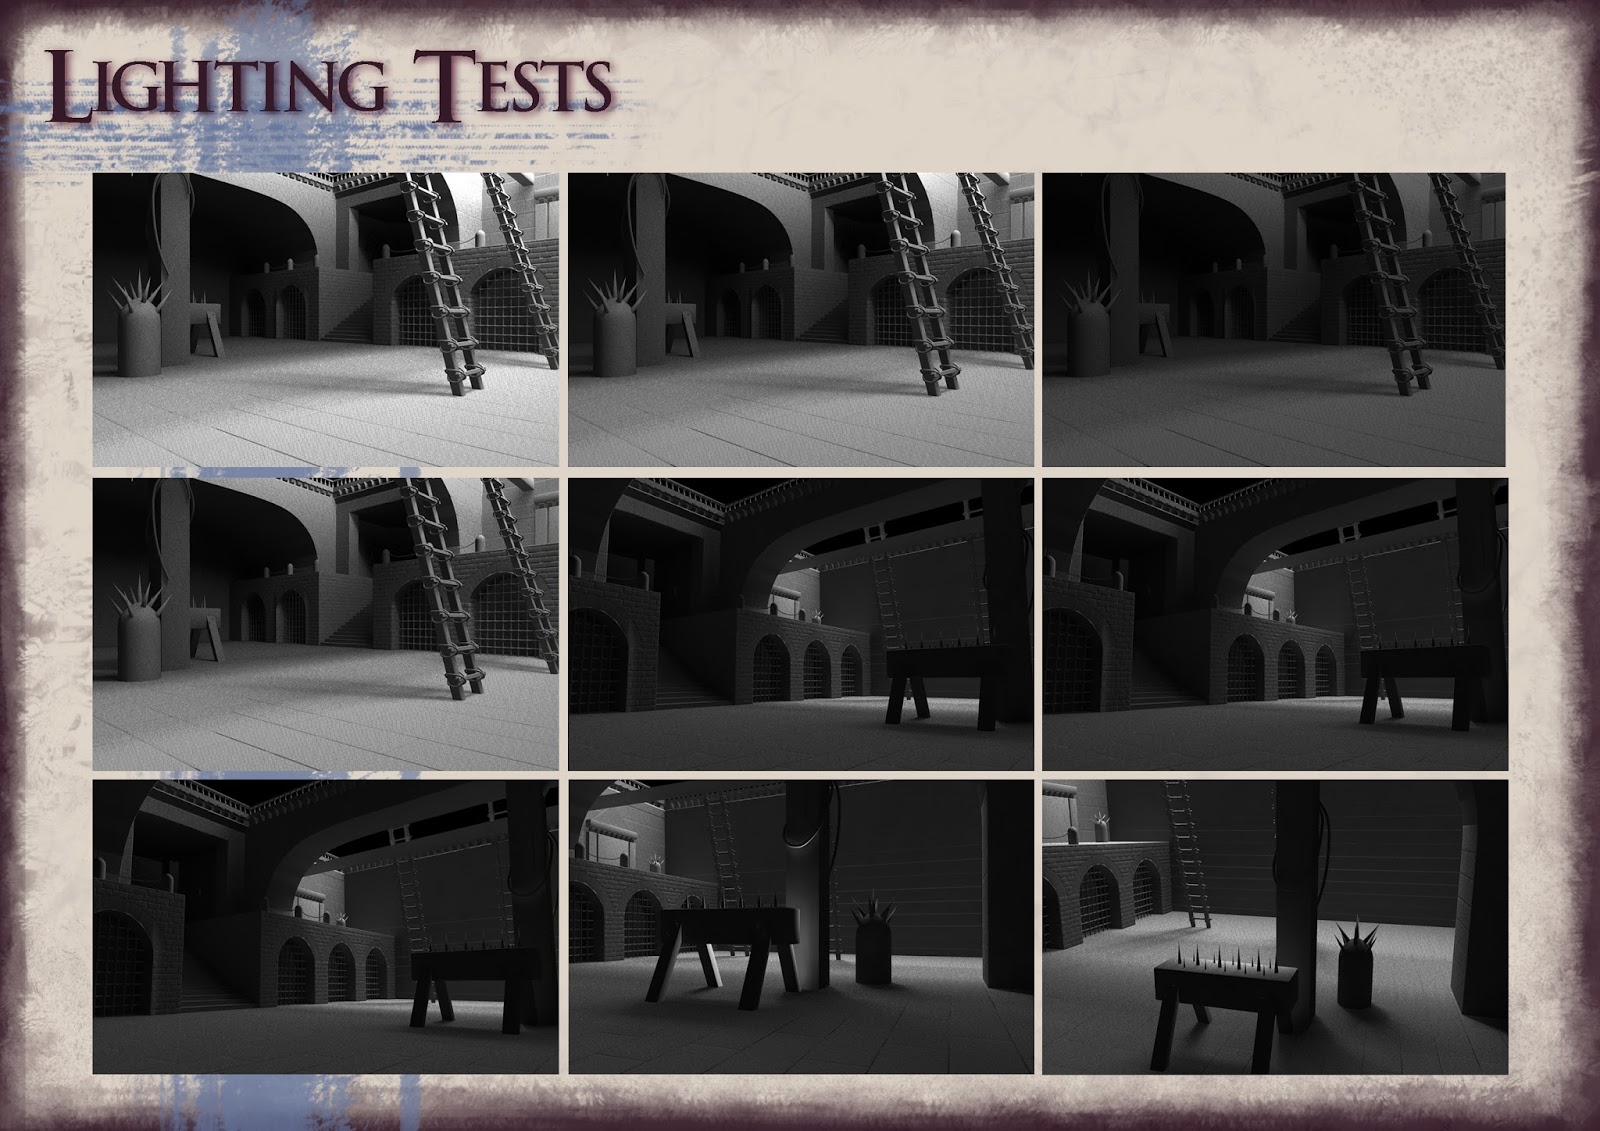
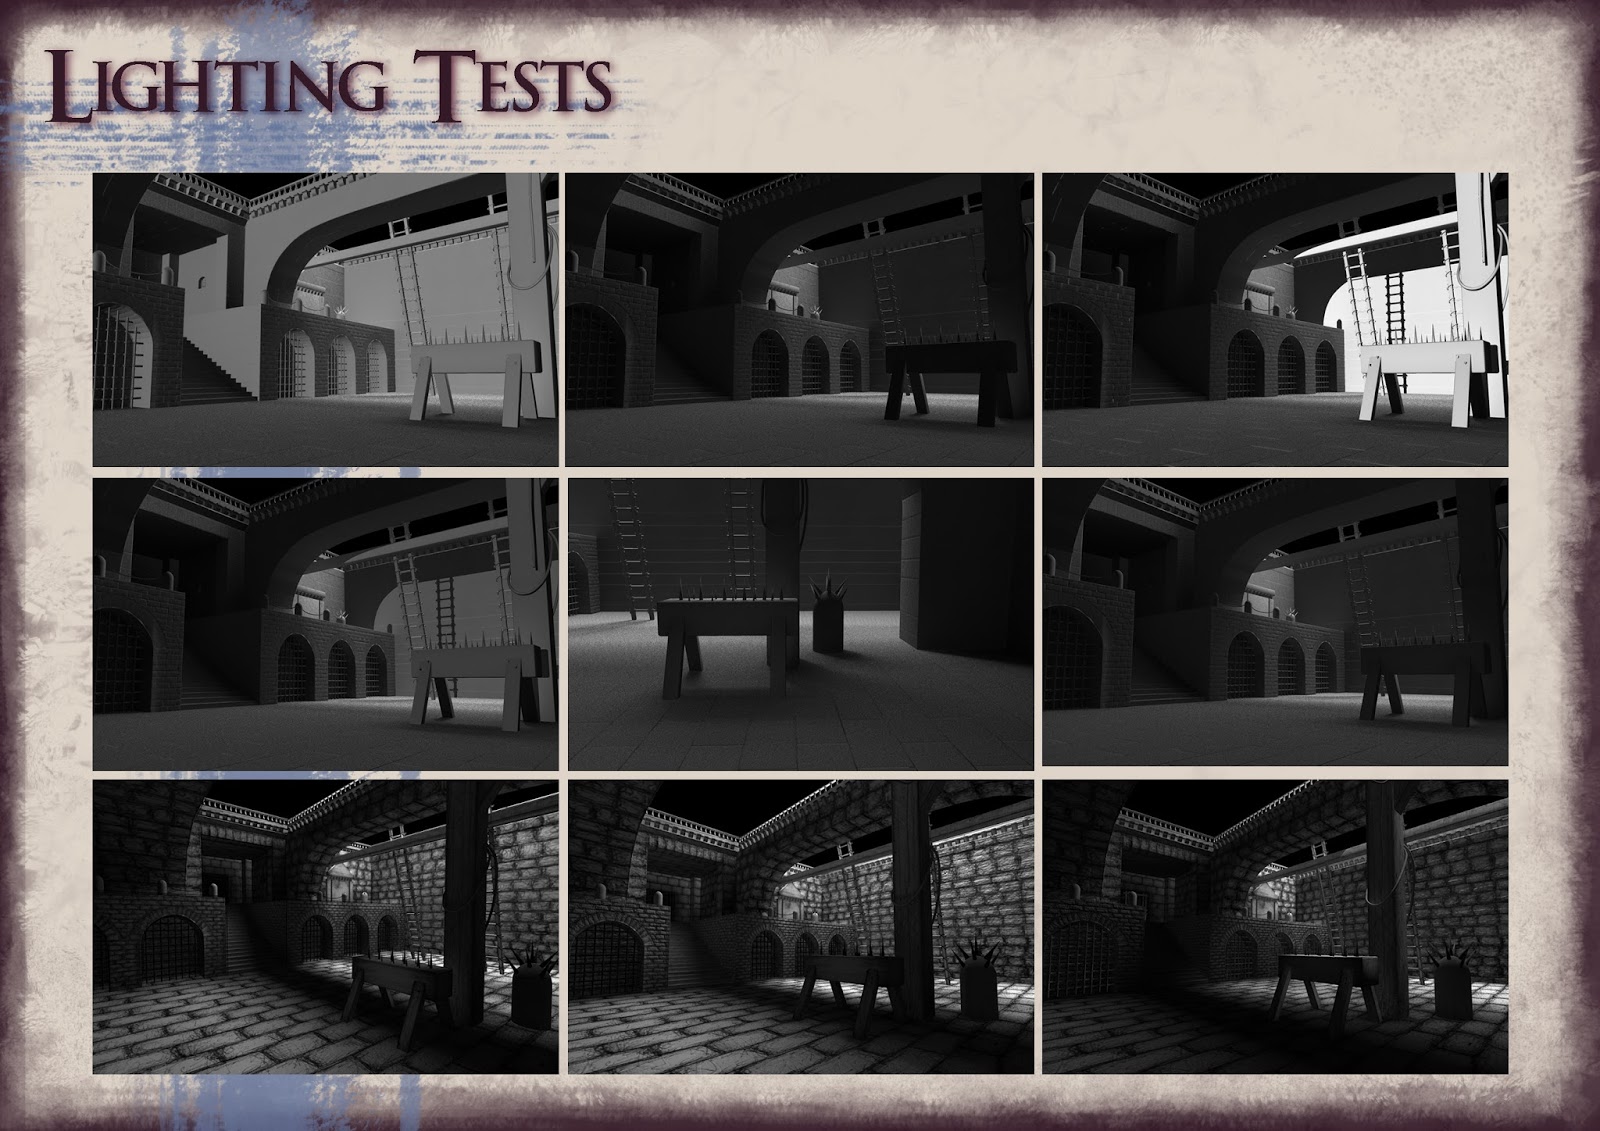
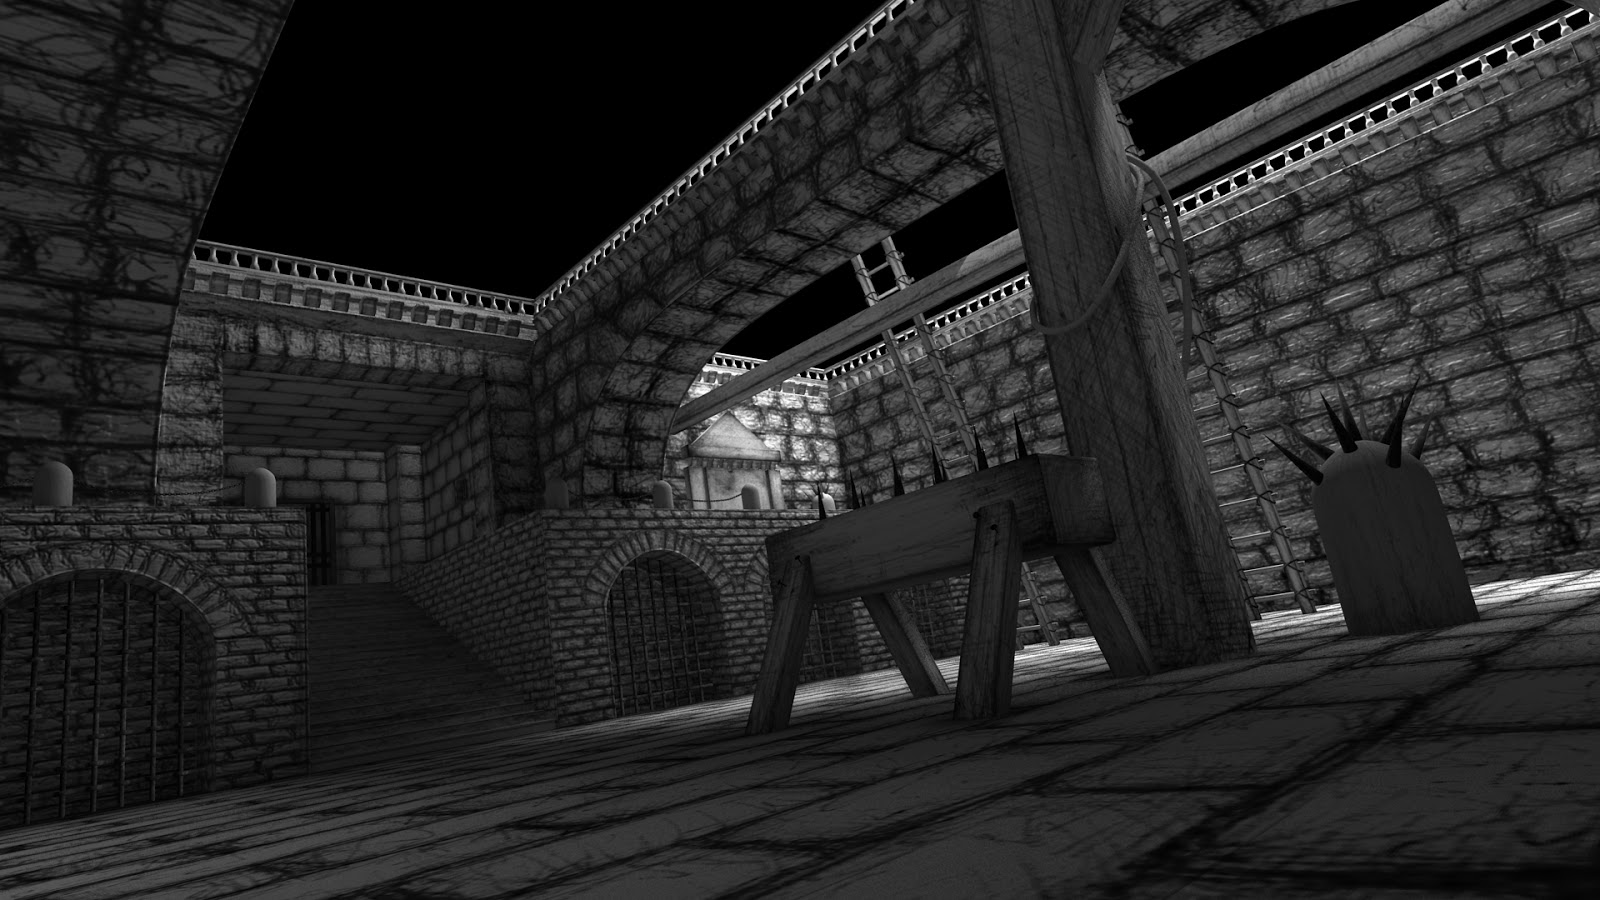
The scale of the rooms is quite off. It seemed that the further I moved from the basement structure where I started, the larger I made everything. So the structure as a whole should actually be slightly smaller. I feel that this doesn't matter to much because it is the the way the structure connects that's important. Also this basic structure is to work out the main camera movements and pre-viz.
Also like before I have not modelled the ceiling  and some of the walls because they are quite complicated and would take up a lot of time. Time that I feel would be better spent doing other things.


Character Texturing Tests

I did some more character texture tests. The previous ones I did were to transparent and it was difficult to tell how the textures were working on a complex model. Through these set of texture tests I modelled 3 different types of heads to see how little detail on the model I could get away with. It's pretty obvious from the tests that although I will not require a lot of detail I need to have the rough structure of the face so that includes a nose, mouth ect.. Also I will need enough geometry to be able to smooth the mesh, because the most complex model I did in these tests did not have the required geometry to smooth.


It was suggested that instead of using stills I should create a turnaround to show the heads I have textured even though they are tests because that way you see the textures a lot better.